The Secret Guilt of Abandoned Tech (And How We Fix It)
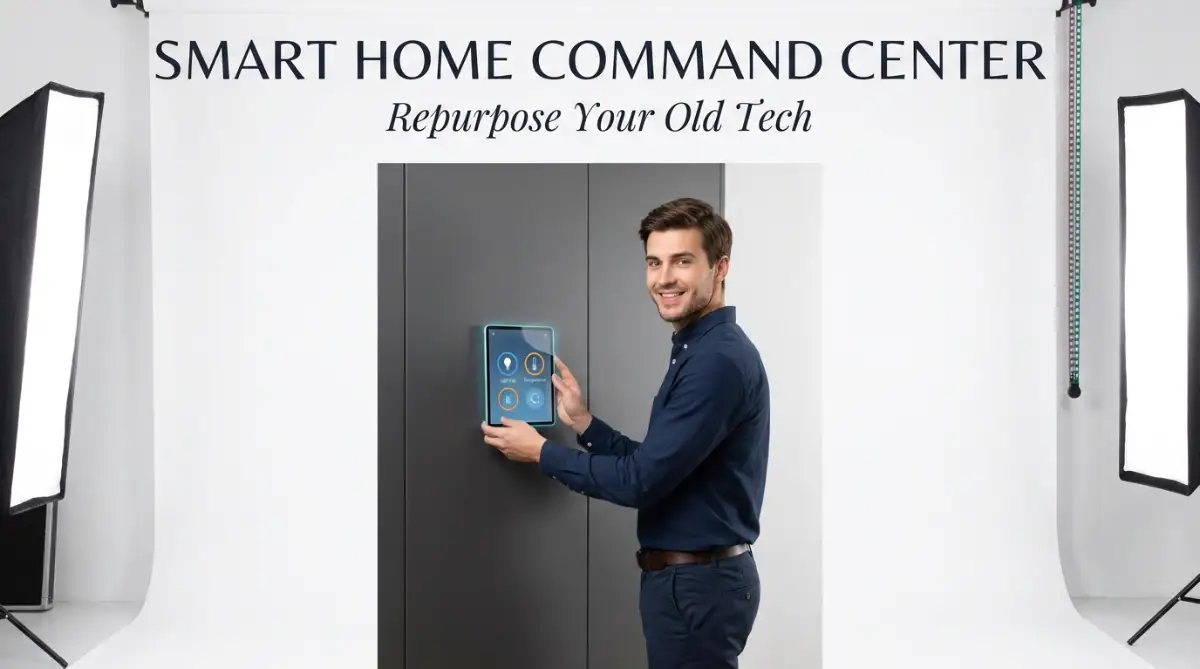
Staring at that perfectly good, slightly outdated tablet gathering dust in your desk drawer probably makes you feel a little guilty. You know it still works, but it is just way too slow for Netflix or modern games. Instead of letting it slowly turn into useless electronic waste, let's transform it into the ultimate remote control for your entire house. You don't need to be a coding expert, and honestly, it is way cheaper than buying a dedicated smart home hub. Let me show you how I did it.
At the exact same time, my house was getting smarter, but my control system was an absolute disaster. I was constantly shouting at voice assistants that completely misunderstood my commands. If I was not yelling at a speaker, I was frantically searching through couch cushions to find my phone just to turn off the living room lights. It felt like I was working for my house, instead of my house working for me.
This daily friction was slowly destroying my peace of mind. Every time I wanted to adjust the thermostat, I had to unlock my phone, find the specific app, wait for it to load, and then make the change. Those extra steps added up to a lot of wasted time and growing frustration. I just wanted a simple button on the wall like we used to have for regular lights.
It suddenly hit me that the perfect solution was already sitting in my desk drawer. That forgotten piece of glass and metal had a bright screen, Wi-Fi connectivity, and a battery. It had exactly what I needed to solve my daily automation struggles.
Many people deal with this exact same annoyance every single day. We buy amazing smart bulbs, locks, and cameras, but we fail to create a central place to manage them all. Family members and guests get confused because they do not have the right apps installed on their personal phones.
By turning that unused screen into a dedicated control panel, you instantly solve the accessibility problem for everyone in the house. You also keep harmful electronic waste out of our landfills. Let me walk you through exactly how I transformed my useless device into a beautiful, functional hub.
Quick Takeaways for Your Tech Rescue Mission:
- Wipe it clean: Factory reset your old tablet to strip away heavy background apps and make it fast again.
- Save the battery: Use a cheap smart plug to prevent the tablet from charging 24/7 and swelling up.
- Mount it smart: Choose a central spot like a busy hallway or kitchen counter with easy access to a power outlet.
- Keep it simple: Design a digital dashboard with massively oversized buttons and only the controls you actually use every single day.
Preparing Your Forgotten Device for a New Mission
Before we start building anything, we need to get your old device ready for its new, highly specific job. The main reason this device was retired is probably because it felt sluggish. We are going to strip it down to its bare bones to make it lightning fast again.
Start by completely wiping the device through a factory reset. This removes all the heavy background apps, old cached data, and hidden files that are slowing down the processor. You want this device to have one job and one job only.
Once it reboots, skip adding your primary email account if possible, or create a brand new dummy account just for your house. You do not want your personal emails, private text messages, or embarrassing notifications popping up on a screen mounted in your hallway.
The 5-Minute Tablet Purge Checklist:
- Factory reset the device completely.
- Connect to Wi-Fi (use the 2.4GHz band for better stability through walls).
- Create a brand-new, blank dummy email account just for the house.
- Turn off all auto-updates in the App Store or Google Play Store.
- Delete absolutely every app except your web browser and smart home dashboard.
Next, you must delete or disable every single application that is not related to home automation. Remove the social media apps, uninstall the games, and turn off automatic app updates. By reducing the workload on the processor, even a ten-year-old screen will feel surprisingly snappy and responsive.
Managing Power Safely and Smartly
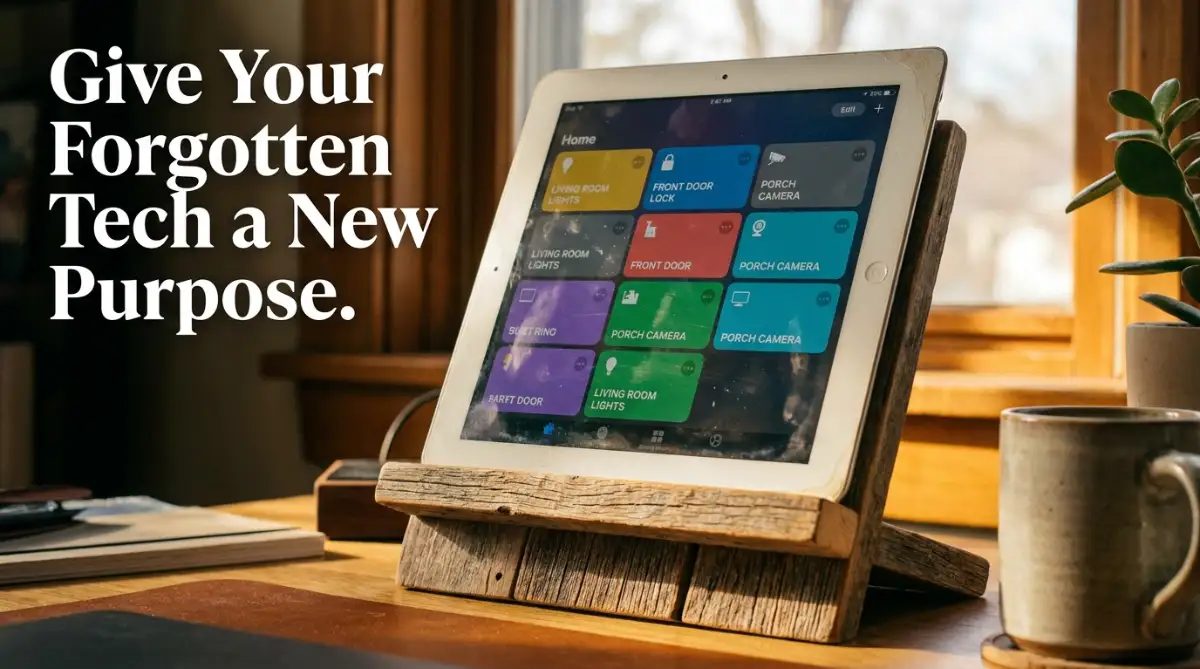
Keeping a lithium-ion battery plugged into the wall twenty-four hours a day is a very bad idea. Over time, constant charging creates excess heat, which can cause the battery to swell up and permanently damage the screen. We need a safer approach to power management.
I quickly learned the hard way that leaving a device plugged in all day destroys the battery health. My pro tip? Connect your wall charger to a cheap smart plug and set a simple automation routine to turn the power on only when the battery drops below twenty percent. This simple trick saved my screen from dangerous battery swelling and kept things running smoothly.
There are specific apps available that can actually read the battery percentage and communicate with your smart plugs. When the device hits eighty percent, the plug automatically shuts off the power. This mimics natural usage and extends the lifespan of the internal hardware significantly.
My Personal Battery Protection Tool Kit:
| Item You Need | Cost (Approx) | Why It Matters |
| :--- | :--- | :--- |
| Kasa Smart Wi-Fi Plug | $10 | Cuts off wall power automatically so the tablet never hits 100%. |
| AccuBattery App (Android) | Free | Monitors real battery health and triggers the smart plug routine. |
| Flat Ribbon USB Cable | $8 | Fits super flush behind the wall mount for a clean look. |
Choosing the Ultimate Dashboard Software
Now that the hardware is clean and safe, we need to choose the software that will act as the brain of your new command center. You want an interface that is extremely visual, highly customizable, and easy for anyone to understand at a quick glance.
Myth vs Reality: Smart Home Dashboards
- The Myth: You need to know advanced computer coding to build a custom smart home interface.
- The Reality: Modern dashboard platforms use simple drag-and-drop tools that anyone can master in an afternoon.
If you are using an older Android device, apps like ActionTiles or Fully Kiosk Browser are incredibly popular choices. They allow you to lock the screen to a single web page or application so guests cannot accidentally mess up your settings. They also let you use the front-facing camera as a motion sensor to wake up the screen when you walk by.
If you are working with an older iOS device, the built-in Apple Home app is a fantastic starting point. You can use the native "Guided Access" feature hidden in the accessibility settings to lock the screen onto the Home app permanently. It requires a passcode to exit, making it perfect for a shared hallway display.
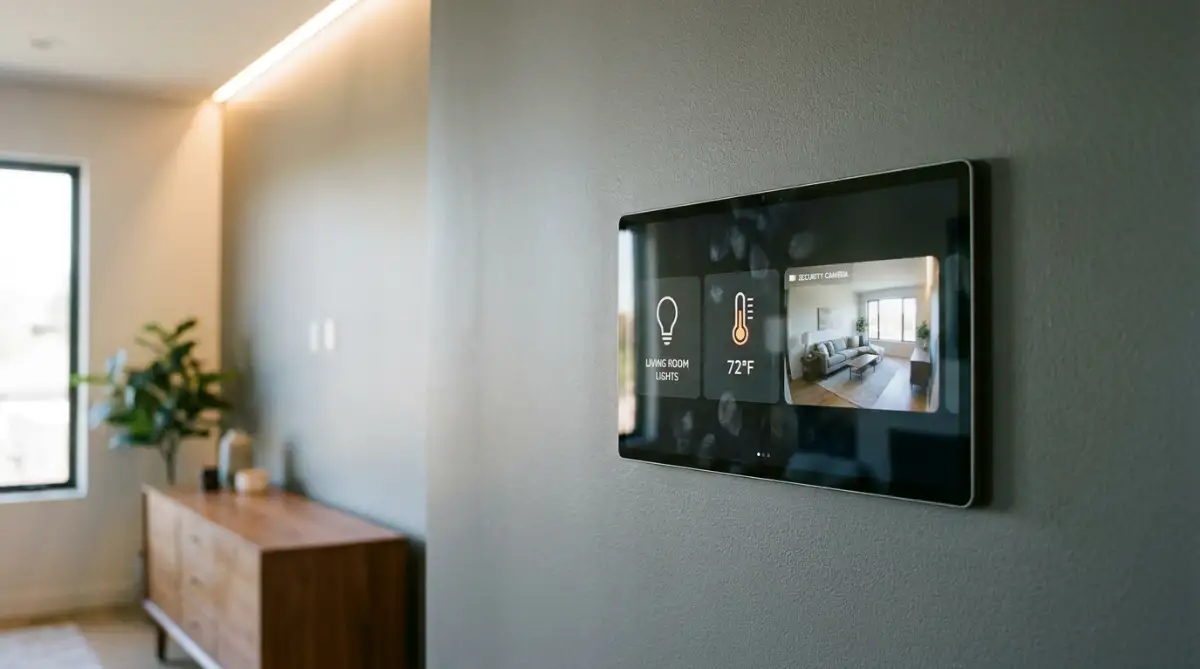
Before you start drilling any holes in your lovely walls, getting a clear visual understanding of the mounting process is highly recommended. A small mistake here can lead to costly drywall repairs. Check out this step-by-step visual guide on safely mounting a control panel without ruining your drywall.
The Art of Mounting Your Screen
Finding the perfect physical location for your new command center is just as important as the software you put on it. You need to choose a spot that is highly accessible, central to your daily routines, and near an existing power outlet.
Hallways leading into the kitchen, the wall right beside your front door, or the master bedroom nightstand are all excellent choices. Think about where you usually are when you realize you need to turn off the lights or check the security cameras.
You have a few different options for displaying the device.
Tabletop Stands for Easy Access
If you are renting your apartment or simply hate the idea of putting holes in the wall, a heavy desktop stand is a beautiful solution. You can place it on an entryway table or a kitchen counter. This method allows you to easily pick up the screen and carry it to the couch when you want to adjust the climate controls.
Magnetic Wall Mounts for Flexibility
Magnetic mounting kits provide a very clean look while still allowing you to easily remove the device when needed. You attach a thin magnetic plate to the back of the device and screw a small magnetic base into the wall. This is brilliant if you ever need to perform software updates while sitting comfortably at your desk.
Custom Wall Frames for a Built-In Look
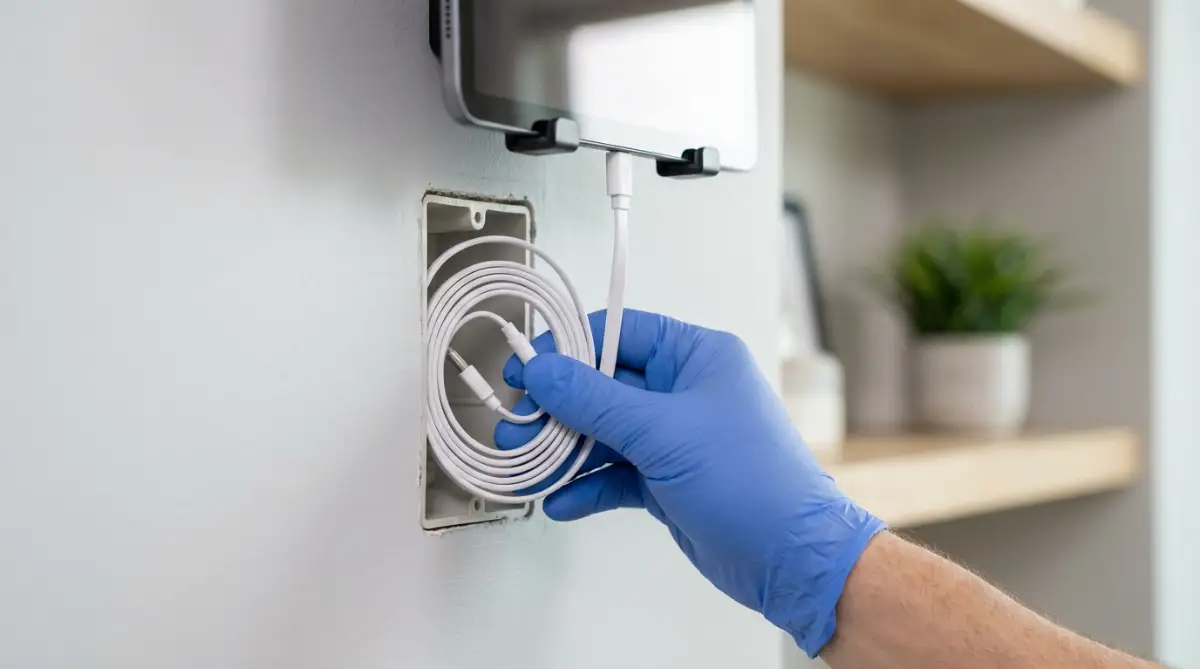
For the most professional, high-end aesthetic, you can purchase or 3D print a custom bezel frame. These frames hide the bezels of the device and the charging cable completely inside the wall. It makes your old gadget look like a thousand-dollar professional automation system installed by an expensive contractor.
Designing an Intuitive User Experience
Think of your new digital setup exactly like the dashboard of your car. You want the most important controls right where you can instantly see them without thinking hard. A cluttered screen defeats the entire purpose of this project.
Organize your main screen into logical zones or rooms. Put the living room lights near the top, the climate controls in the middle, and a live feed of your front door camera on the side. Use large, colorful icons that clearly show whether a light is currently on or off.
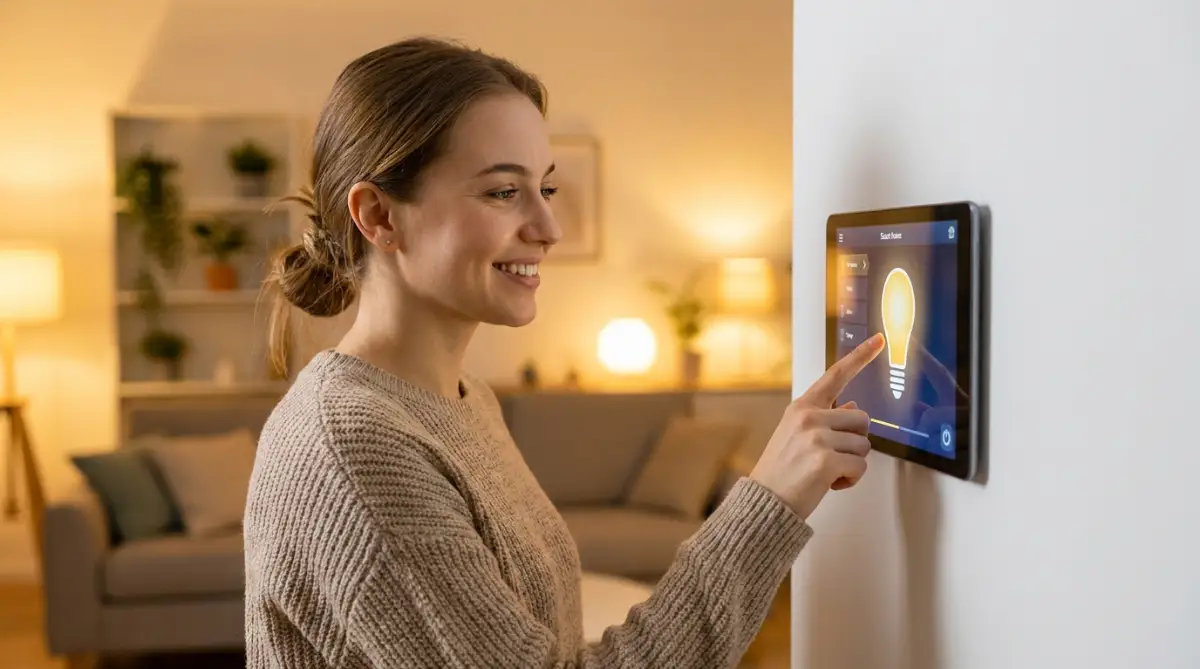
Imagine carrying heavy groceries into the house after a long day at work. Instead of fumbling around in your pockets for your phone, you just tap the bright, welcoming screen by the door to turn on the kitchen lights. That is the exact level of convenience we are aiming to achieve here.
Advanced Tricks for a Seamless Experience
To make this feel like a truly magical piece of technology, you should utilize the built-in sensors of the device. Nobody wants to physically press a tiny power button on the side of a wall-mounted frame every time they need to use the screen.
As mentioned earlier, you can use specific browser apps to turn the front-facing camera into a motion detector. When you walk down the hallway, the screen automatically wakes up and presents your controls. After two minutes of no movement, the screen goes completely dark to save energy and prevent screen burn-in.
You can also set up automated routines based on the time of day. Your dashboard can automatically switch to a dark mode aesthetic after sunset so it does not blind you during a late-night trip to the kitchen. During the morning, it can display the current weather forecast and your calendar events right alongside the coffee maker controls.
Why This Project Changes Everything
Creating a dedicated physical location for your automation controls completely shifts how you interact with your house. It removes the invisible barrier of needing a personal smartphone to make simple environmental changes.
When guests come over to watch a movie, they do not need to ask you to dim the lights. They can simply walk up to the glowing panel and tap the "Movie Mode" button themselves. It empowers everyone in the household to take advantage of the smart technology you have invested your hard-earned money into.
I no longer feel that heavy guilt when I look at my old electronics. Instead of collecting dust and losing value in a dark drawer, that old screen is now the most actively used piece of technology in my entire house. It feels incredibly rewarding to breathe fresh life into old hardware while simultaneously solving a massive daily annoyance.
Troubleshooting Common Setup Issues
Sometimes older devices stubbornly refuse to connect to newer, high-speed Wi-Fi networks. If you find your command center constantly dropping its connection, try splitting your home router bands. Connect the older device specifically to the 2.4GHz network, which offers better range and stability for aging wireless chips.
Another common problem is dealing with screen timeouts. Both Apple and Android systems deeply want to turn the screen off to save battery power. You will need to dig deep into the developer settings or display options to find the "Never Sleep" function.
If the native settings do not allow you to keep the screen on permanently, do not panic. There are plenty of free utility applications available in the app stores designed specifically to override system sleep commands. Just search for "keep screen awake" and you will find exactly what you need to keep your dashboard glowing bright.
Expanding Beyond Basic Controls
Once you have the basic lighting and temperature controls working perfectly, you can start getting really creative. This panel does not have to be limited to just turning things on and off.
You can integrate a live transit map to see exactly when the next bus is arriving before you leave for work. You can add a digital grocery list widget that instantly syncs with the phone in your pocket. Some people even add a small family message board where kids can leave digital sticky notes for their parents.
The possibilities are genuinely endless once you break free from the limitations of a tiny smartphone screen. You are the sole designer of this experience, so you can tailor every single pixel to match the unique rhythm of your household.
Keeping Your Command Center Secure
Because this device is managing the security of your home, including smart locks and cameras, you must take basic security precautions. Never leave the device completely unprotected if you frequently host large parties or have strangers in your home.
You can set up a simple PIN code specifically for the smart lock widget on your dashboard. This means anyone can turn the lights on, but they must enter a four-digit code to unlock the front door. This gives you the perfect balance of daily convenience and strong peace of mind.
Make sure the tablet itself is running the latest security patch it can possibly support. Even if the operating system is several versions behind, many manufacturers still push out critical security updates. Connect it to a secure, private Wi-Fi network rather than a guest network to prevent any outside interference.
Transforming your forgotten tech is not just a fun weekend project. It is a highly practical upgrade that makes your living space function smoother and smarter than ever before. With a little bit of effort, you can turn a useless piece of junk into the glowing, beating heart of your modern home.
Insider Secrets for a Flawless Automation Experience
Once your screen is mounted and running, the real fun actually begins. Getting the basic buttons to work is just the starting line for your new command center. We want to transform this simple display into a highly intelligent assistant that anticipates your daily habits.
To maintain this amazing setup over the long term, you have to think about digital hygiene. Older hardware gets bogged down very easily if you do not regularly clear the system cache. I strongly suggest setting a reminder on your phone to reboot your wall panel once a week.
This simple weekly restart clears out the temporary memory and keeps the touchscreen incredibly responsive. You do not want to be tapping a button three times just to get the porch light to turn on. A fresh system memory ensures your commands happen instantly.
Before doing anything permanent with your older gadgets, you must ensure your previous digital footprint is completely gone. I always recommend reading a beginner's guide to safely wiping data from your premium gadgets so you do not accidentally expose your personal photos or saved passwords on a shared household screen. Privacy should always come first when repurposing tech.
Mastering the Art of Automated Routines
A truly smart home does not wait for you to press a button. It learns your schedule and makes adjustments before you even realize you need them. Your new dashboard should be the visual hub for these background routines.
Think about your typical morning workflow. You can easily program a "Good Morning" routine that activates the moment you dismiss your phone alarm. When you walk out to the hallway, your dashboard can already display the morning news, your daily calendar, and the current traffic conditions.
According to research from the National Renewable Energy Laboratory on smart home efficiency, automated scheduling can drastically reduce your monthly power bills. Your dashboard can visually confirm that the air conditioning turned off when everyone left the house. This gives you peace of mind and saves you serious money.
Creating Specific Household Zones
If you share your living space with other people, a customized dashboard becomes incredibly helpful. You can create different digital pages or tabs for specific areas of the house. This prevents the main screen from becoming a chaotic mess of fifty different icons.
Create one tab strictly for the master bedroom, another for the kitchen, and a separate one for outdoor security. If you live in a cramped space, automated lighting is a total game-changer. It perfectly complements the ultimate guide to separating sleep and work in a tiny apartment by automatically shifting the mood from a bright office environment to a cozy bedroom setting at sunset.
Pro-Level Habits for Long-Term Success
- Do keep the interface simple: Only put the five most used buttons on the absolute front page.
- Do check for software updates: Even old operating systems get occasional security patches.
- Do clean the screen: A microfiber cloth keeps fingerprint smudges from making your premium setup look cheap.
- Don't ignore Wi-Fi strength: If the panel is in a dead zone, invest in a cheap Wi-Fi extender immediately.
Customizing the Visual Aesthetic
Do not settle for a boring, generic background image on your new control panel. This screen is going to be a permanent fixture on your wall, so it needs to match your interior decoration. You can upload high-quality family photos or elegant abstract art to use as the screensaver.
Many dashboard applications allow you to completely customize the colors of your digital buttons. You can make the active lights glow a warm yellow while the locked doors display as a reassuring green. These subtle color cues make it incredibly easy for your brain to process the status of your house from across the room.
I highly recommend testing out a dark mode theme for your dashboard. A bright white screen can look extremely harsh against painted walls, especially during the evening hours. A dark gray or completely black background makes the colorful icons pop beautifully while blending seamlessly into the shadows.
Silent Killers That Destroy DIY Dashboards
Building this project is highly rewarding, but the path is unfortunately littered with hidden traps. I have seen so many people excitedly mount their old screens, only to rip them down a month later in complete frustration. You need to know exactly what usually goes wrong so you can easily avoid these headaches.
The most common trap is completely ignoring basic network security. A dedicated screen running twenty-four hours a day is essentially a permanent window into your private local network. If you leave default passwords on your router, you are asking for serious trouble.
The Cybersecurity and Infrastructure Security Agency offers fantastic guidelines on securing home networks that every tech owner should read immediately. You must ensure your repurposed device is running behind a strong firewall. You also want to protect your family members who might use the screen, which is why it is incredibly important to protect your child's online privacy with these simple steps while setting up shared household devices.
The Trap of Overwhelming Complexity
Another massive mistake is trying to make the dashboard do absolutely everything at once. I once tried to put forty different tiny buttons on a single eight-inch screen. It was an absolute disaster that completely confused my family members.
When my spouse just wanted to turn off the ceiling fan, she had to hunt through a maze of tiny, confusing icons. The whole point of this project is to remove daily friction, not create more of it. If it takes longer to find the button on the wall than it does to just use a regular light switch, your design has failed.
Keep your buttons massively oversized and spaced out perfectly. Pretend you are designing an interface for someone who has never used a smartphone before. If a guest can walk up and figure it out in three seconds, you have built a perfect layout.
Environmental Dangers to Your Screen
Where you physically place this device matters much more than you probably realize. Direct sunlight is the absolute worst enemy of any lithium-ion battery and LCD screen. If you mount your panel on a wall that gets baked by the afternoon sun, the internal glue will melt and the battery will swell dangerously.
You also need to avoid placing the screen directly above high-heat appliances or heavy moisture areas. A panel mounted directly above a boiling kitchen stove or right next to a steamy bathroom shower will die very quickly. Moisture easily sneaks into the charging ports and slowly rusts the internal components.
Sometimes your other household gadgets start acting up when a new wireless hub is introduced. If you ever wonder why your wireless earbuds won't connect to your PC and how to fix it, a poorly placed smart hub can sometimes cause that exact signal interference. Always keep your main router at least a few feet away from the mounted screen to avoid signal traffic jams.
Failing to Plan for Power Outages
Nobody ever thinks about what happens to their fancy new command center when the neighborhood loses power. If your internet router goes down, your dashboard will likely freeze or display ugly error messages. When the power finally comes back on, older devices sometimes struggle to automatically reconnect to the network.
You can easily prevent this frustration by installing a small, cheap uninterruptible power supply (UPS) on your main internet router. This keeps your local Wi-Fi network running even if the neighborhood goes dark. Your wall panel will stay happily connected to your smart locks and battery-powered sensors.
It is also smart to enable the "auto-launch on boot" setting within your specific dashboard application. If the tablet battery completely dies during a long blackout, it will eventually turn back on when power is restored. You want it to automatically open your smart home app instead of getting stuck on a generic home screen.
Your Blueprint for a Smarter Home Tomorrow
You now possess all the knowledge required to pull off one of the most satisfying technology upgrades possible. Taking a device that was destined for the garbage and giving it a highly functional second life is an amazing feeling. You are actively solving a major daily annoyance while making your living space feel significantly more premium.
The Environmental Protection Agency highlights the benefits of electronics recycling, proving that repurposing old gear actually helps the planet by reducing toxic waste. You get a fantastic new toy, and the environment catches a small break. It is a win-win scenario that genuinely makes a difference.
A dedicated control panel is an amazing addition to your daily routine, especially if you spend a lot of time working from your house. It pairs beautifully with smart tips on how to work pain-free packing a healthy remote setup in a small suitcase if you ever need to take your smart routines on the road.
Do not wait for the perfect weekend to start this project. Go open that desk drawer right now, plug in that old screen, and start experimenting with the software.
I completely transformed my chaotic, messy digital life into a streamlined, relaxing environment using this exact method. My house finally feels like a peaceful sanctuary that actually listens to me, and I know yours will too.
Real Questions From Fellow Smart Home Builders
Can I use a really old iPad mini as my main home hub?
Yes, you absolutely can use an older iPad mini for this project. As long as it can connect to your local Wi-Fi and open a basic web browser, it will work perfectly for displaying your dashboard. You might just need to use web-based apps instead of native store apps if the operating system is heavily outdated.
Does keeping a wall-mounted tablet plugged in use a lot of electricity?
Surprisingly, a modern tablet uses an incredibly small amount of electricity, usually only a few dollars per year. The screen itself draws the most power, which is why setting up a motion-sensing sleep mode is so highly recommended. This keeps your energy footprint completely minimal while preserving the hardware.
How do I hide the ugly charging cable running down my wall?
The most professional method is to use a recessed electrical box directly behind the mounted screen to completely hide the wire. If you cannot cut into the drywall, you can buy thin, paintable plastic cable raceways from any local hardware store. Once painted the exact same color as your wall, the wire becomes practically invisible.
Will adding another connected device slow down my home Wi-Fi?
A smart home dashboard barely uses any bandwidth because it is only sending tiny text commands, not streaming heavy video files. It will not slow down your Netflix movies or your online gaming sessions at all. If you are worried about network crowding, simply connect the panel to your slower 2.4GHz network band.
What should I do if the screen constantly turns off by itself?
Both Apple and Android have aggressive battery-saving features that naturally want to force the screen to sleep. You have to go deep into the developer settings to enable the "Stay Awake" option while charging. If that fails, downloading a dedicated kiosk browser application will permanently override the system sleep rules.
Disclaimer: This article is for informational and educational purposes only. Always exercise extreme caution and consult with a professional when drilling into walls or working with electrical outlets. We are not responsible for any damage to personal property, hardware failure, or data loss that may occur while modifying your electronic devices or home network.